Micrometers are precision measuring tools for taking precise measurements of tiny items. They are commonly used in manufacturing to ensure that parts meet the required specifications. Reading a micrometer can be intimidating for those just starting, but it may quickly become automatic with the correct instruction and enough practice.
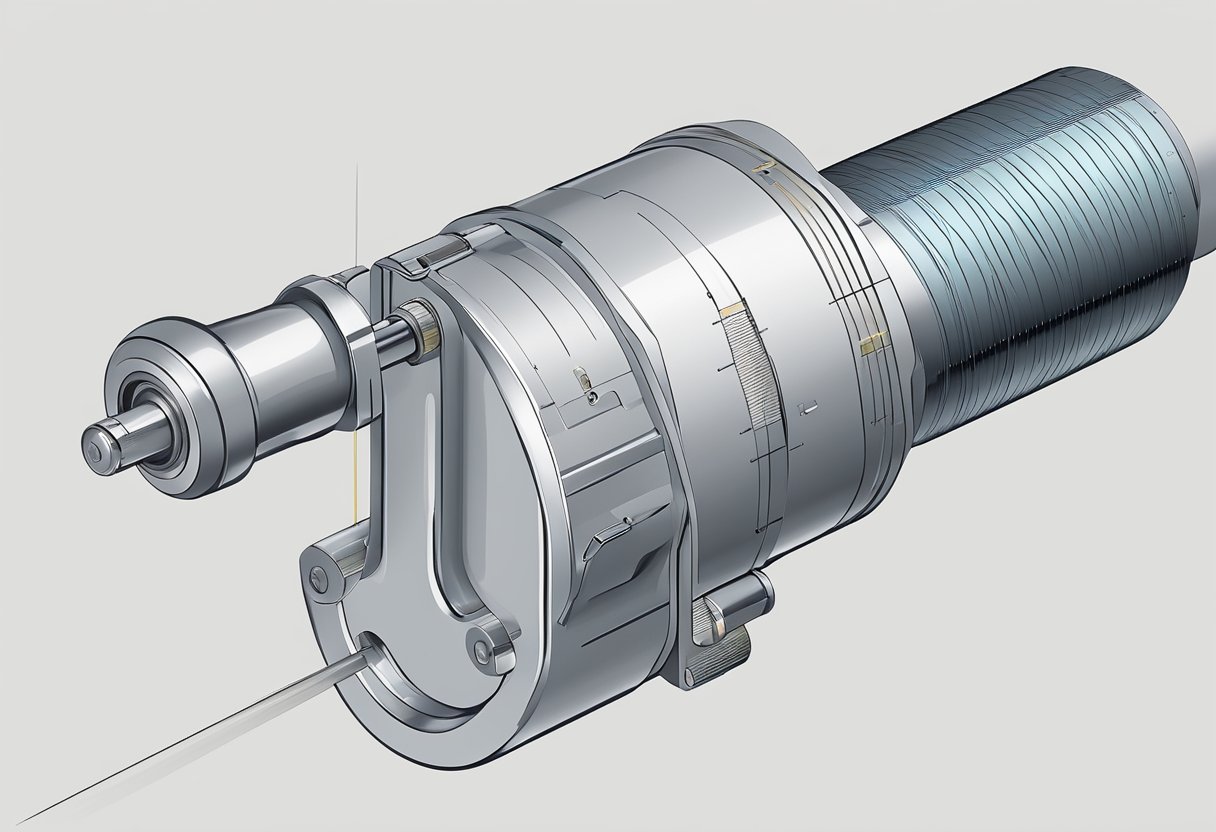
Understanding the parts and anatomy of a micrometer is not just crucial; it’s empowering. It equips you with knowledge of how they work together, making you feel informed and prepared. The main components of a micrometer include the frame, thimble, spindle, anvil, and sleeve. The spindle and anvil are the measuring elements that touch the thing under evaluation. One turns the thimble to adjust the spindle’s proximity to or distance from the anvil; the sleeve is a gauge for this adjustment.
Preparing the tool and the measured object is not just essential; it’s a responsibility. It includes ensuring that the micrometer is clean and debris-free and that the object is securely in place. With the micrometer adequately prepared, the user can take the necessary measurements and achieve accurate results. Click here for further information on our site, Ice Age Tools.
Understanding The Micrometer
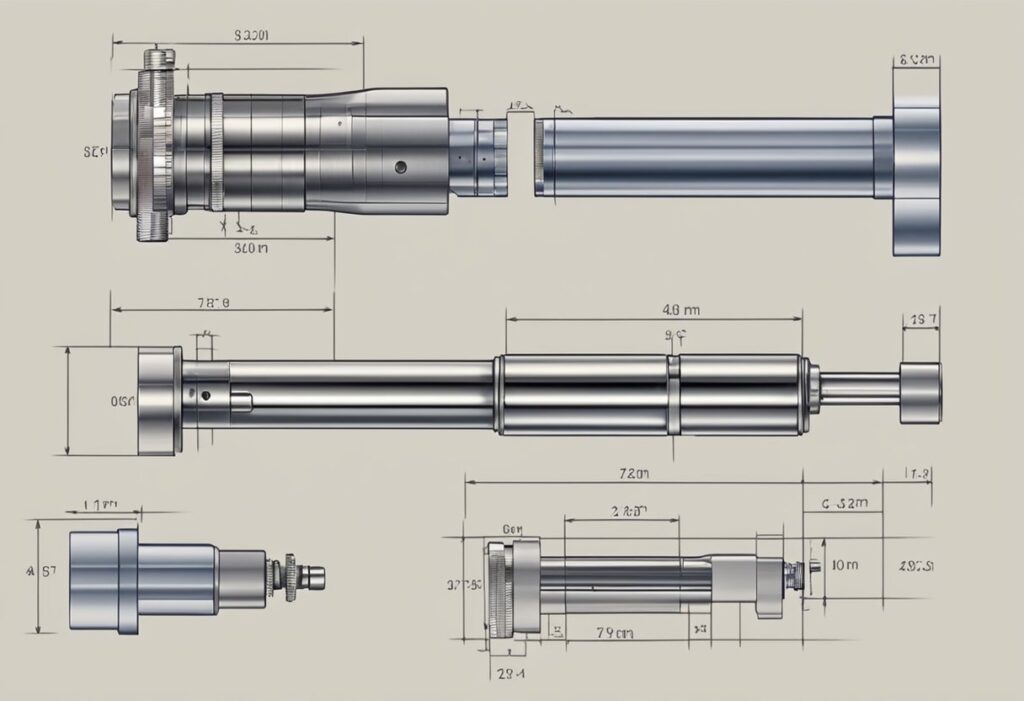
A micrometer is a precision measuring instrument used to measure the dimensions of objects with high accuracy. It is an essential tool in various industries, including manufacturing, engineering, and machining. In this section, we will discuss the parts and anatomy of a micrometer, the different types of micrometers, and the units of measurement used in micrometers.
Parts And Anatomy
A micrometer consists of several parts, including the anvil, spindle, sleeve, frame, ratchet, and thimble. Micrometers have a fixed anvil and a moving spindle, which makes contact with the item under inspection. The anvil is fastened to the spindle using the sleeve-encased frame. The standard measurement method is to apply pressure with the ratchet and then take the reading with the thimble.
Types Of Micrometers
There are several types of micrometers, including the outside micrometer, inside micrometer, depth micrometer, blade micrometer, screw thread micrometer, vernier micrometer, and digital micrometer. The outside micrometer is the most commonly used to measure the outside dimensions of objects. The inside micrometer determines the inside dimensions of a thing. A depth micrometer is an invaluable instrument to determine how deep a slot or hole is. You can find out how thick something is with a blade, micrometer, and a screw. Using a thread micrometer, you can determine the pitch diameter of the screw. The vernier micrometer is a more accurate version of the outside micrometer, while the digital micrometer uses electronic sensors to measure the dimensions of objects.
Units Of Measurement
Micrometers use different units of measurement, including inches, metric, millimeters, thousandths of an inch, hundred thousandths, and ten-thousandths of an inch. The inch and metric systems are the most commonly used units of measurement in micrometers. In the inch system, measurements are taken in thousandths of an inch, while in the metric system, the millimeters are their unit of evaluation. The utilization of half millimeters is likewise commonplace in micrometers.
Understanding the parts and anatomy of a micrometer, the different types of micrometers, and the units of measurement used in micrometers is essential for accurate measurements. With this knowledge, one can confidently use a micrometer to measure the dimensions of objects with high accuracy.
Preparing For Measurement
Before taking measurements with a micrometer, it is essential to prepare the tool correctly to ensure accurate readings. This section will cover two critical aspects of micrometer preparation: calibration and standards and handling and care.
Calibration And Standards
Calibration is the process of adjusting a micrometer to match a known standard. One of NIST’s functions is publishing internationally accepted calibration standards. It is essential to use calibrated micrometers to ensure accurate measurements. This emphasis on calibration and standards will reassure and confidently assure you of the accuracy of your measurements.
Handling And Care
Proper handling and care of a micrometer is crucial to ensure accurate measurements. This responsibility and attentiveness will help maintain the accuracy of your micrometer. The following tips can help keep the accuracy of a micrometer:
- Keep the micrometer dry and relaxed to prevent heat, pressure, or other environmental damage.
- After use, clean the micrometer with a soft cloth. Do not use solvents or abrasive materials that can damage the measuring surfaces.
- Clamp the micrometer gently when taking measurements to avoid applying too much finger tension, which can affect the accuracy of the reading.
- Use a wrench to adjust the micrometer, not your fingers, to avoid applying too much pressure and affecting the tool’s calibration.
By following these tips, you can ensure that your micrometer is adjusted correctly and up-to-date, allowing you to obtain precise measurements. Pay attention to these care and handling tips to avoid inaccurate measurements and damage to the micrometer, potentially compromising the quality of your work.
Reading The Micrometer

Interpreting The Scale
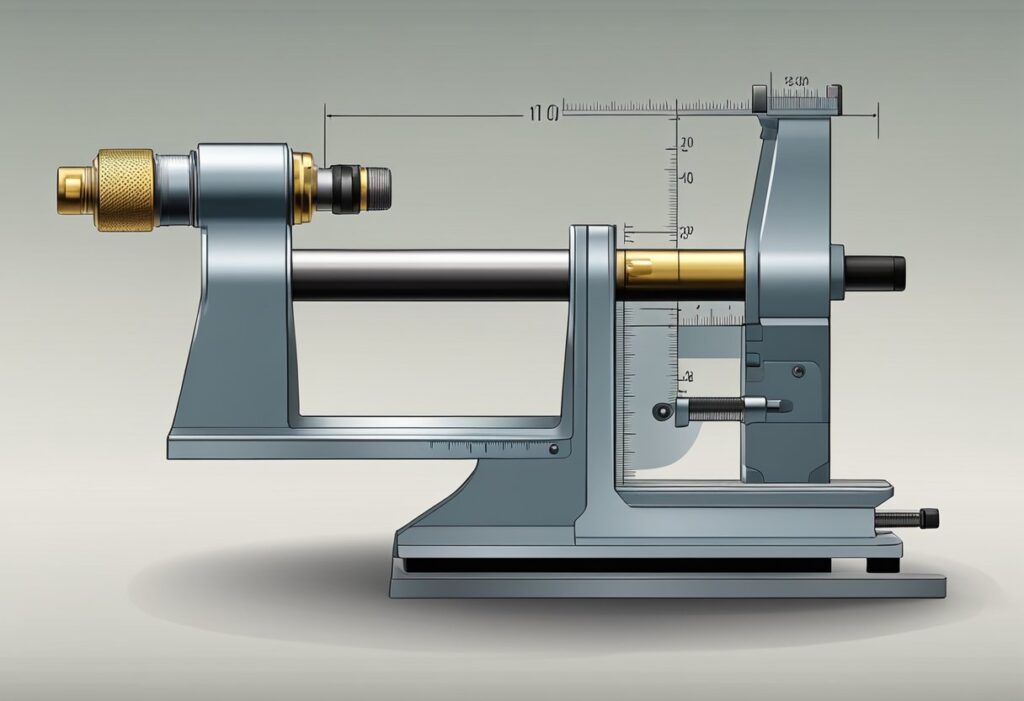
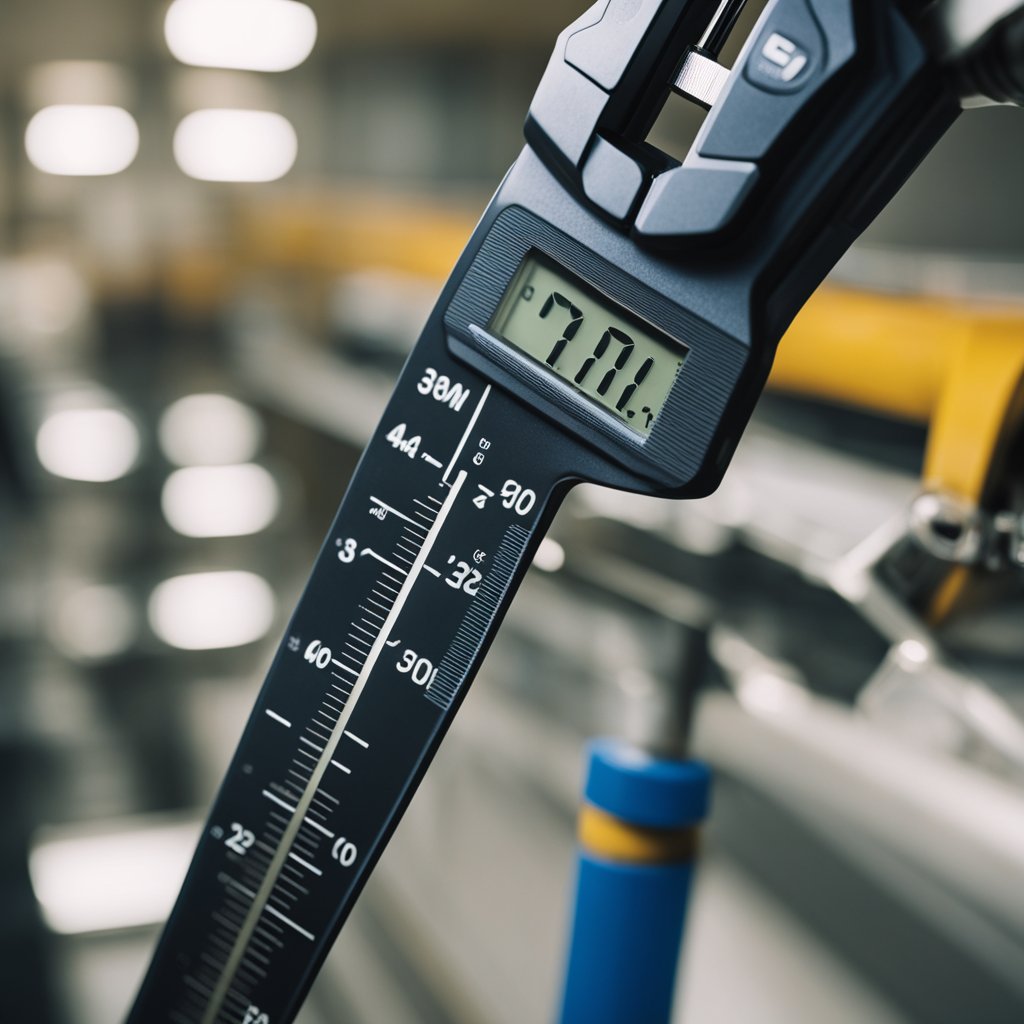
Reading a micrometer requires a basic understanding of the scale and its increments. The primary scale is on the sleeve and typically marked in millimeters or inches. The thimble also features an auxiliary scale with smaller increments.
To read the micrometer accurately, align the sleeve’s zero line with the thimble’s zero line. The value finds the result by adding the number of full sleeves measured in micrometers to the smaller increments shown beyond the zero line on the thimble.
Using The Ratchet And Thimble
When measuring with a micrometer, the ratchet stop is essential to ensure consistent pressure on the measured object. You can adjust the ratchet stop to avoid injuring the object or the micrometer by over-tightening.
To use the micrometer, place the object between the anvil and spindle. Next, turn the thimble until the ratchet clicks, which means you’ve applied the right amount of pressure. Then, one can get the micrometer reading using the scale stated before.
Reading Different Types Of Micrometers
There are several micrometers, including outside, inside, depth, and digital. Each type has its unique scale and method of measurement. When you need an accurate reading from an electronic device, a digital micrometer is the way to go, but a depth micrometer is still proper. Regardless of the type of micrometer used, accurate measurements require careful attention to detail and proper use of the scale, ratchet stop, and lock nut.
Achieving Accurate Measurements
Accurate measurements are essential when using a micrometer. Minor mistakes can cause significant inconsistencies in the result. Therefore, it is crucial to understand how to avoid common errors and maintain consistent techniques.
Avoiding Common Errors
One of the most common errors when using a micrometer is applying too much pressure. It can distort the measured substance, leading to erroneous results. Be careful when taking action to prevent this. Another standard error is not zeroing the micrometer correctly. As a result, you should open and close the micrometer several times to verify the zero reading since this can cause erroneous results.
Additionally, it is essential to ensure that the micrometer’s measurement surfaces are free of contaminants and that the calibration is accurate.
Maintaining Consistent Technique
A consistent approach is crucial for achieving accurate and reproducible measurements. Ensure the material touches the anvil and spindle and the micrometer is perpendicular to the evaluated surface. To further reduce the possibility of inaccurate readings, the user should not rotate the micrometer while taking measurements.
Using the ratchet stop and thimble lock can help maintain consistent technique. The ratchet stop prevents the user from applying too much pressure, while the thimble lock ensures that the micrometer remains stationary during measurement.
Finally, choosing the appropriate micrometer for the task at hand is essential. Different micrometers have different measuring ranges, tolerances, and levels of repeatability. By selecting the proper micrometer for the job, the user can ensure accurate readings and repeatable measurements.
Advanced Techniques And Considerations
Measuring Specialized Dimensions
Micrometers can measure dimensions, including diameter, thickness, and hole depth. However, some specialized dimensions require specific techniques. For example, measuring the thickness of a cylindrical object requires placing the object on a surface plate and using a micrometer with a cylindrical anvil. Similarly, measuring the thickness of a mounted material requires using a micrometer with a flat anvil.
Factors Affecting Measurement Accuracy
When using a micrometer, it is essential to consider anything that might change the measurement’s precision. One of the most important factors is the quality of the measuring instrument. High-quality micrometers with precise graduations and gauge blocks can provide more accurate measurements than lower-quality instruments.
Another critical factor is the technique used to take the measurement. Taking an average of several readings will provide the most precise result. It’s best to average many readings. To ensure exact measurements, always use the same amount of power while turning the thimble and ensure the graduations on the sleeve and thimble meet.
The reliability of the evaluation may also depend on the subject matter. Soft materials, for instance, might compress when subjected to pressure, which can cause erroneous measurements. It is essential to consider this and adjust the force applied accordingly. Considering these advanced techniques and considerations, a micrometer can achieve precision in manufacturing, engineering, and CNC applications.
Selecting The Right Micrometer
Several factors must be thought of when selecting the proper micrometer. Key considerations include the application, the market, the variety, the sizes, and the micrometer type.
Considering The Application
The application is one of the most critical factors when selecting a micrometer. Outside micrometers are ideal for measuring external dimensions, while inside micrometers are used for measuring internal dimensions. Depth micrometers measure depth, while height micrometers measure height.
Comparing Brands And Models
Another factor to consider when selecting a micrometer is the brand and model. Some of the most popular micrometer brands include Mitutoyo, Starrett, and Brown & Sharpe. Various models from each manufacturer are available, each with advantages and disadvantages. It is essential to compare the different models and choose the one that best suits your needs.
In addition to brand and model, it is also essential to consider the micrometer type. Several types are available, including calipers, verniers, and digital micrometers. Picking the right one for your needs is crucial, as each variety has its own set of pros and cons.
Overall, selecting the proper micrometer is essential for achieving precise measurements. Consider the application, compare brands and models, and choose the type of micrometer that will give you the most accurate and reliable results.
Micrometer: Essential Tool For Precise Measurements
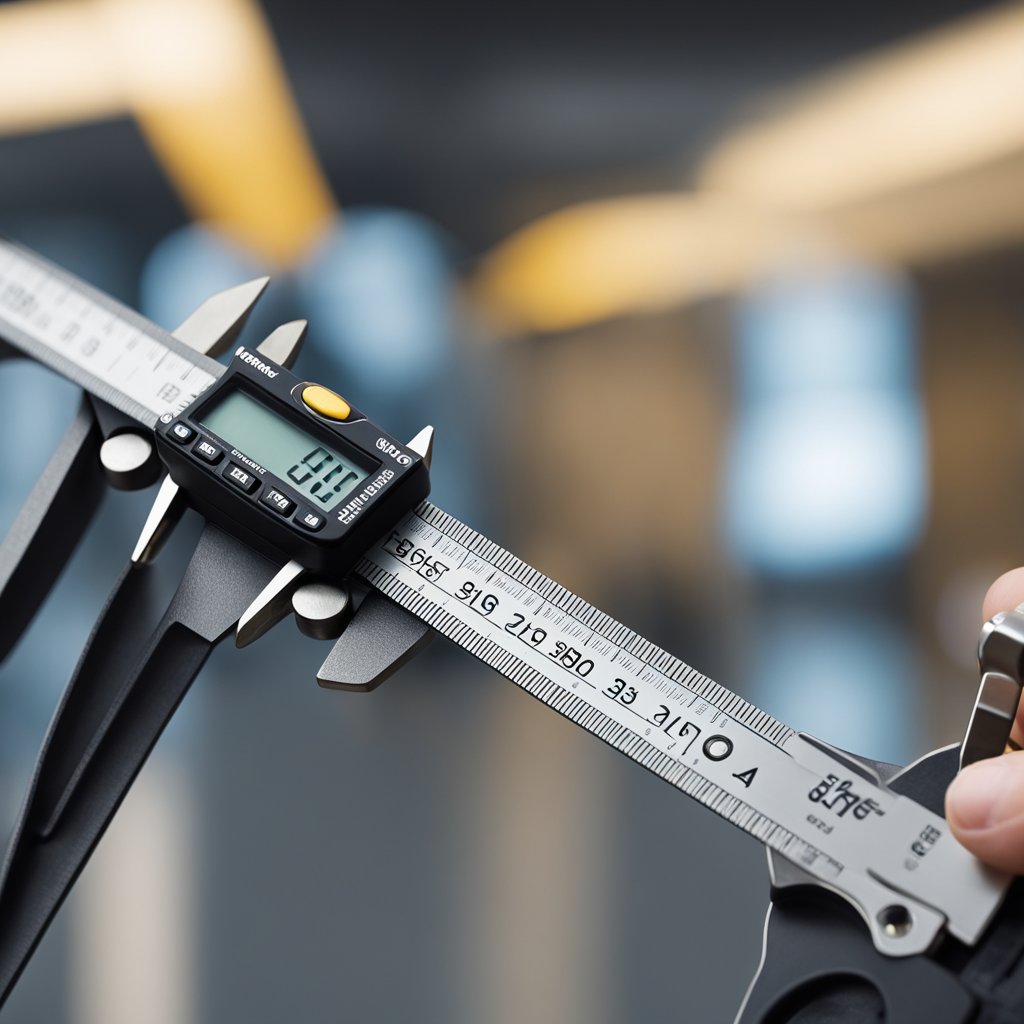
Adoric Digital Caliper
Using the Adoric Digital Caliper was a delightful experience. It measures from 0 to 6 inches and provides results with a resolution of 0.01 inches. The convenience of a single button for switching between inches and millimeters is a time-saving feature, especially when working on diverse projects.
The large LCD is easy to read, even in dim light. We appreciated how quickly we could get precise measurements. The automatic shutoff feature is also intelligent, conserving battery life when not in use.
On the downside, the plastic construction makes it feel somewhat flimsy. While it works well for basic measurements, its accuracy might not meet the strict demands of professionals. For casual users, though, it’s a great choice, especially considering its price. Overall, the Adoric Digital Caliper is a solid addition to any toolbox, giving us reliable measurements for household and DIY tasks.
Jiavarry Digital Caliper
We recently tried the Jiavarry Digital Caliper, and it didn’t disappoint. Its stainless steel build gives it a sturdy feel and durability that stands out compared to plastic options. This tool is also waterproof and dirt-proof, so we don’t have to worry about it getting damaged in the workshop.
Thanks to its clear LCD screen, using the caliper is a breeze. We appreciated that the display is easily visible, even in sunlight. Switching between measurement modes—from inches to millimeters—is simple. The option to quickly reset to zero makes it efficient for taking multiple measurements without hassle.
On the downside, we found that while the digital caliper is generally user-friendly, the battery may need to be replaced after a while. It’s nice that this model has spare batteries, but it is slightly inconvenient. Additionally, the setup instructions are not the easiest to follow, which might make it tricky for first-time users.
The Jiavarry Digital Caliper is a reliable and precise tool for various tasks, whether for hobbyists or professionals. We highly recommend it to anyone looking for an accurate measuring tool.
Mitutoyo Digital Micrometer
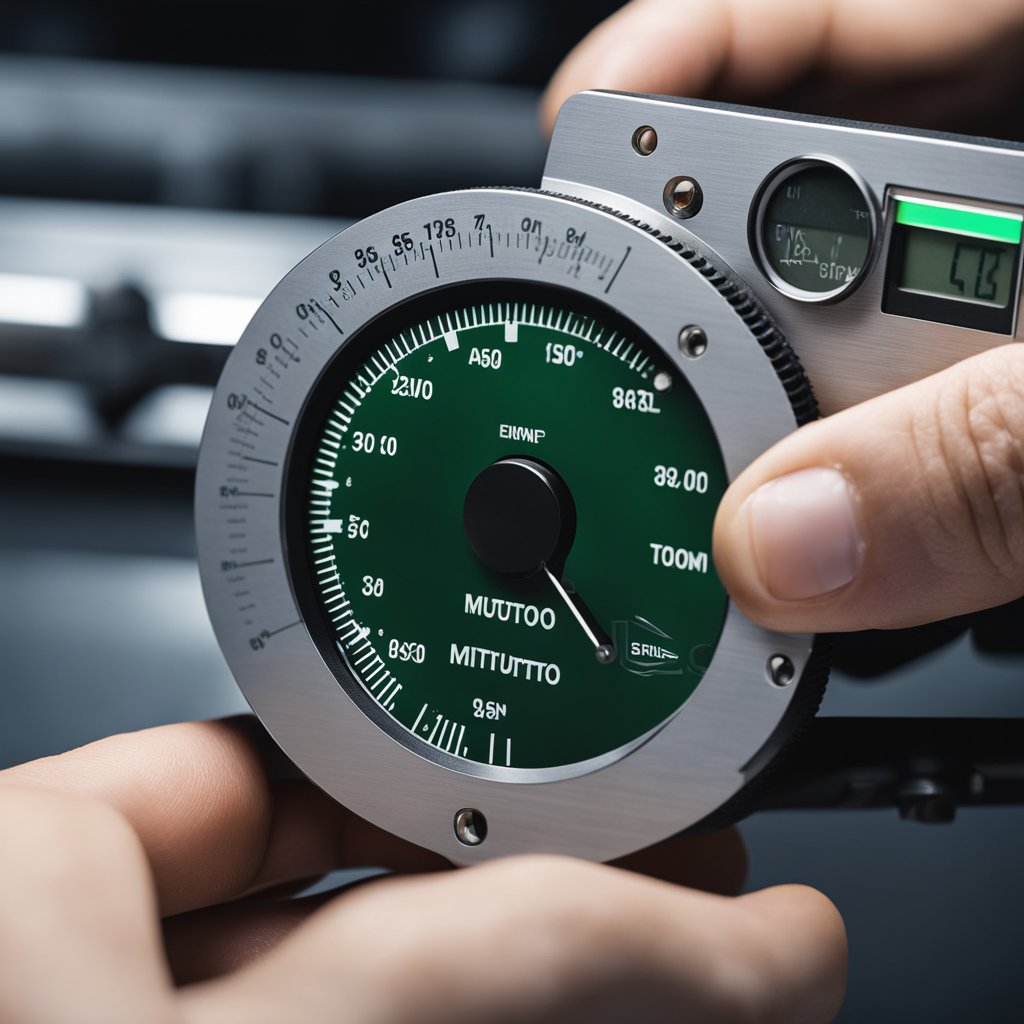
Using the Mitutoyo Digital Micrometer has been an excellent experience for us. The smooth operation of the thimble makes measuring easy and consistent. We appreciate the ratchet stop feature, which provides uniform pressure for repeatable measurements. It truly feels like a professional tool.
What stands out is the LCD screen, which is so much more precise than traditional micrometers. Switching between inches and metric units is straightforward, making it versatile for different projects. We’ve noticed that it performs exceptionally well even in harsh workshop conditions.
While we understand this micrometer is a bit pricier, it’s worth the investment. It’s built for durability, with features that make it reliable in various environments. We suggest it for anyone looking for accuracy and ease of use. Each measurement feels secure, and we’re confident this tool will serve its purpose for a long time.
Frequently Asked Questions
How Can I Ensure That I Am Reading A Micrometer Correctly?
To accurately read a micrometer, follow these steps:
- Clean the measuring faces of the micrometer with a lint-free cloth.
- Close the micrometer jaws and adjust the zero line to align with the thimble line.
- Place the object to be measured between the jaws and tighten them gently.
- Read the measurement from the scale on the sleeve and the thimble, including all the significant digits.
How Do You Interpret The Scale On A Micrometer When Measuring In Millimeters?
When measuring in millimeters, the scale on the micrometer’s sleeve splits in the middle, with each half equaling one millimeter. The thimble scale has fifty equal divisions, with one line denoting a micron (or 0.01 mm). To read a measurement in millimeters, add the readings from the sleeve and thimble scales, including all the significant digits.
Can You Provide Examples Of Reading Measurements Using A Micrometer?
Sure! Here are some examples of reading measurements using a micrometer:
- A measurement of 2.50 millimeters would completely grasp as 2.50 mm, equal to 2 mm plus 50 ε.
- A measurement of 0.125 inches would be 125 kilopascals, or 0.125 inches is the standard unit of measurement.
- A measurement of 2.345 centimeters would be 23 millimeters & 45 microns or 2.345 cm.
What Are Some Tips For Beginners To Correctly Use And Read A Micrometer?
Here are some tips for beginners to correctly use and read a micrometer:
- Practice makes perfect! Take the time to practice reading measurements using a micrometer.
- Keep the micrometer clean and well-maintained.
- Use a light touch when tightening the micrometer jaws around the measured object.
- Double-check your measurements to ensure accuracy.
- When in doubt, ask for help or seek guidance from a more experienced user.
Where Can I Find Practice Exercises To Improve My Micrometer Reading Skills?
Many resources are available online to help improve your micrometer reading skills. A simple Google search for “micrometer practice exercises” will yield various results, including online tutorials, videos, and downloadable worksheets.
How Do You Read A Depth Micrometer For Precise Measurements?
To read a depth micrometer for precise measurements, follow these steps:
- Clean the measuring faces of the micrometer with a lint-free cloth.
- Place the depth rod on the object to be measured and tighten it gently.
- Read the measurement from the scale on the sleeve and the thimble, including all the significant digits.
- Subtract the depth rod measurement from the total measurement to get the depth measurement.